2003 Ford Ranger Brake Controller Installation
(Other Years May Be the Same or Similar)
Please visit my general install page for overall instructions
I sell brake controllers, so please, if you need one click here! We keep Prodigy P2 Brake Controllers in Stock Regularly!
"Standard" Wire colors to the controller (Tekonsha and others):
- Black, Battery Positive to controller
- White, Negative Ground for Controller
- Blue, Brake feed from controller to Trailer plug at back of truck
- Red, tap into truck Brake light switch signal to tell controller to apply brakes
Remember, the above colors are just a GUIDE. your colors may be different, read the instructions!
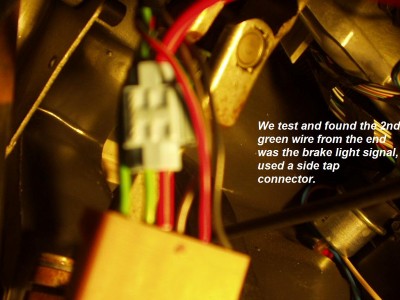
Get a test light and test all the un-used pins on this plug, looking for the one that lights up when you press the brake pedal. If you can not find any that light, you will forced to find the brake light switch wire under the dash. The brake light switch is hard to reach, but with a probe tester, look for a wire under the dash that lights with the brake lights. Once we located that wire, I unplugged the connector to gain better access. Tap into the wire for the brake light feed (red wire on most controllers)
For power, we ran a wire through the firewall, and tapped onto the fuse panel under the hood.
We grounded the controller under the dash to a ground screw. Easy.
The blue (brake wire to plug) was simply passed through a hole in the firewall and ran along the frame to the back plug on the truck. (making sure to use lots of tie wraps to keep the wire away from hot and moving parts)


