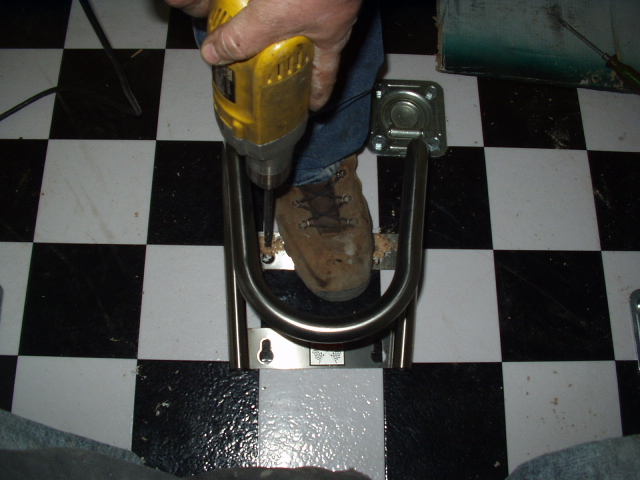
Below is how I normally Install the removable tube type (Pingle) wheel chocks. I use a 1/2" drill, and a 3/8" drill bit. I actually use a 12" long "jobber bit" but you can use any 3/8" bit you want.
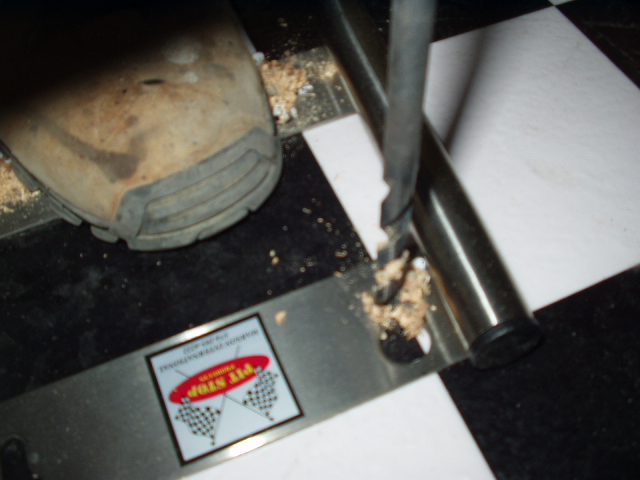
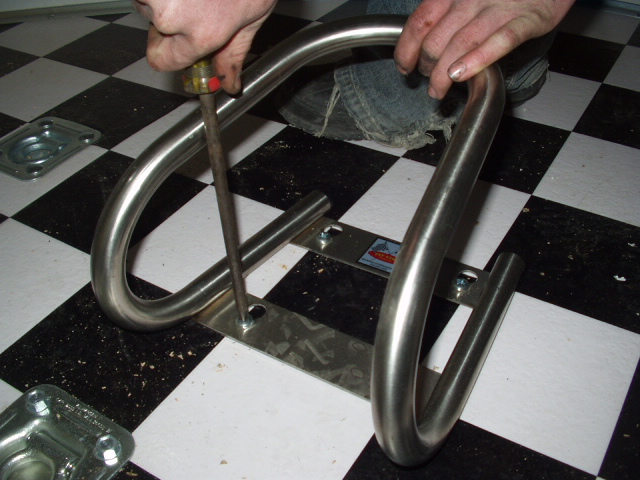
First measure where you want your Pingle, then Hold it firmly (I step on it) Drill right through the narrow part of the slot on the floor plate. If you can not reach the front holes, (because your drill bit is not long enough to reach around the tube frame) then just do the rear ones first, and stop. After those two are fully installed (inserts in the floor, see below), install the wheel chock, make sure it fits the two screws you have already installed. With the chock fully in place, carefully mark the other two holes, move the wheel chock out of the way, and drill the two remaining holes. then after installing them, mark the front ones.
The number one problem I have is the holes do not line up with the slots on the wheel chock. That is why I use the long bit. Be careful to drill the hole correctly!


